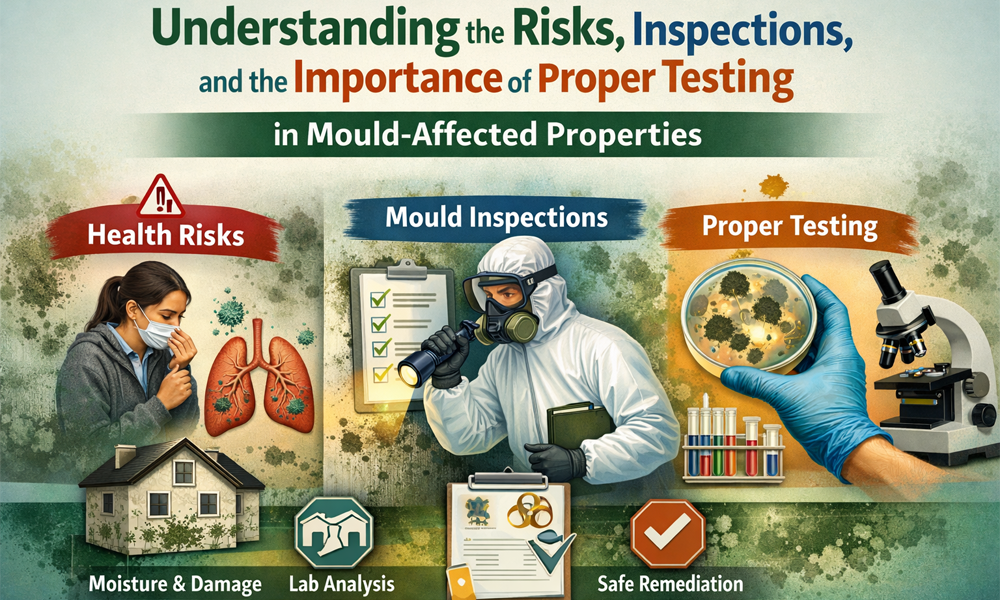
Mould is more than just an unpleasant stain on a bathroom wall—it’s a warning sign of a much bigger problem. Hidden moisture, structural issues, and poor indoor air quality often lie beneath the surface of what we can see. And while some mould is obvious, much of it grows silently behind walls, under floors, inside HVAC systems, or in spaces we rarely check.
Left untreated, mould can damage building materials and impact the health of the people living inside. This blog explains why mould testing matters, the proper methods of investigation, the common mistakes people make, the warning signs of water damage and condensation, and why working with a Certified Occupational Hygienist (COH) can make all the difference.
Why Mould Testing is Required?
1. Identify the Root Cause
A proper assessment helps identify:
- Water ingress or leaks
- Past or recent flooding
- Areas of elevated moisture
- Conditions that promote mould growth
- Temperature and relative humidity contribute to microbial activity
2. Protect Health
Common health effects include:
- Runny or blocked nose
- Itchy or irritated eyes and skin
- Coughing or wheezing
For people with asthma, inhaling mould spores may trigger an asthma attack. In rare cases, prolonged or high-level exposure can lead to more serious conditions such as hypersensitivity pneumonitis—an immune disorder where the lungs become inflamed due to repeated exposure to specific allergens. Understanding the health risks is one of the most important reasons to treat mould seriously.
Those at higher risk include:
- People with asthma or allergies
- Individuals with weakened immune systems
- People undergoing chemotherapy
- Organ transplant recipients
- People with chronic lung disease, such as COPD or emphysema
3. Determine the Extent of the Damage
A complete assessment helps determine:
- How far mould has spread
- Whether mould is present behind walls or under flooring
- Whether it’s a small isolated issue or widespread contamination
4. Develop a Remediation Action Plan
A remediation plan outlines:
- Areas to be cleaned or removed
- Containment areas
- Required repairs (e.g. leaks, ventilation improvements)
- Preventative measures to avoid future growth
A proper plan ensures that mould is addressed safely and effectively.
5. Post-Remediation Verification
This includes:
- Visual inspection
- Moisture readings
- Air or surface sampling
Methods of Mould Investigation
1. Visual Inspection
A visual inspection includes:
- Checking for staining, discolouration, or visible mould
- Inspecting high-risk areas like bathrooms, kitchens, basements, attics, and HVAC systems
- Assessing for musty or damp odours
- Reviewing the timeline of any leaks or water events
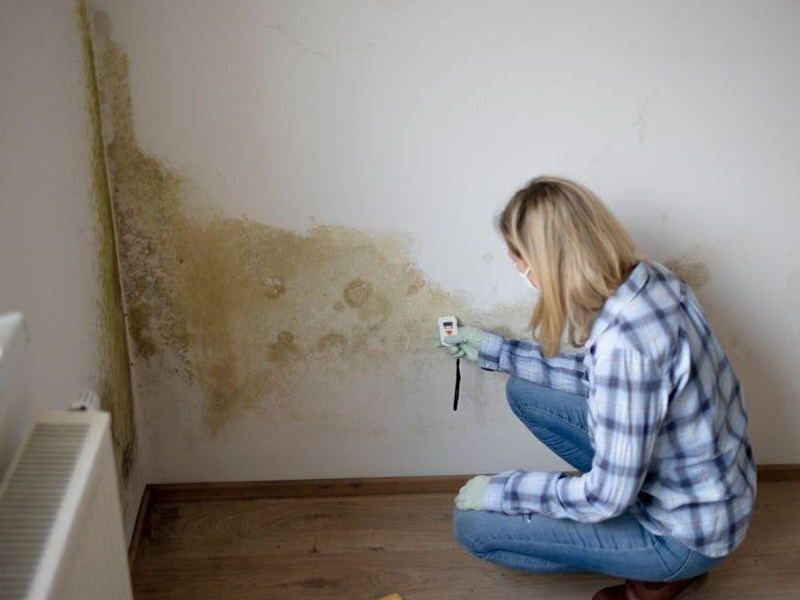
2. Moisture Mapping
Tools used include:
- Moisture meters (for walls, ceilings, flooring)
- Timber moisture meters (to detect dampness in timber structures)
- Thermal imaging cameras (to identify temperature differences caused by hidden leaks or dampness)
Moisture mapping helps confirm whether the environment is suitable for mould activity.
3. Air Sampling
This helps to identify:
- Mould spore levels
- Types of mould present
- Indoor vs outdoor comparison
4. Surface Sampling
5. Air Quality Assessment
What are the Common Mistakes in Mould Inspection?
Even well-intentioned inspections often miss the bigger picture. Here are the most common mistakes:
1. Only Checking Visible Surfaces
If a property has been water-damaged, mould can be hiding:
- Behind walls
- Inside ceiling cavities
- Under carpets
- In HVAC units
It’s also essential to understand the extent of damage and assess accordingly.
2. Cleaning Without Fixing the Moisture
3. Relying on Smell
4. Ignoring Ventilation
5. Not Using Moisture Detection Tools
6. Lack of Documentation and Testing
- The type of mould
- The level of contamination
- The severity of the issue
Areas to Inspect for Mould?
A thorough inspection should cover all areas vulnerable to moisture.
Interior Areas
- Bathrooms and bedrooms
- Kitchens (under sinks, behind and under appliances)
- Basements and subfloors
- Wardrobes and storage areas
- Behind large furniture against external walls
- Around windows and sliding doors
Structural Components
- Walls, ceilings, and insulation
- Skirting boards and flooring
- Roof cavities
- Plumbing lines
- HVAC units and ducting
How to check for signs of Condensation?
Condensation is one of the most common drivers of mould growth, especially in poorly ventilated or cooler environments.
Key indicators include:
- Water droplets on windows
- Damp window frames and sills
- Condensation on mirrors, tiles, or cold surfaces
- Indoor humidity levels above 60%
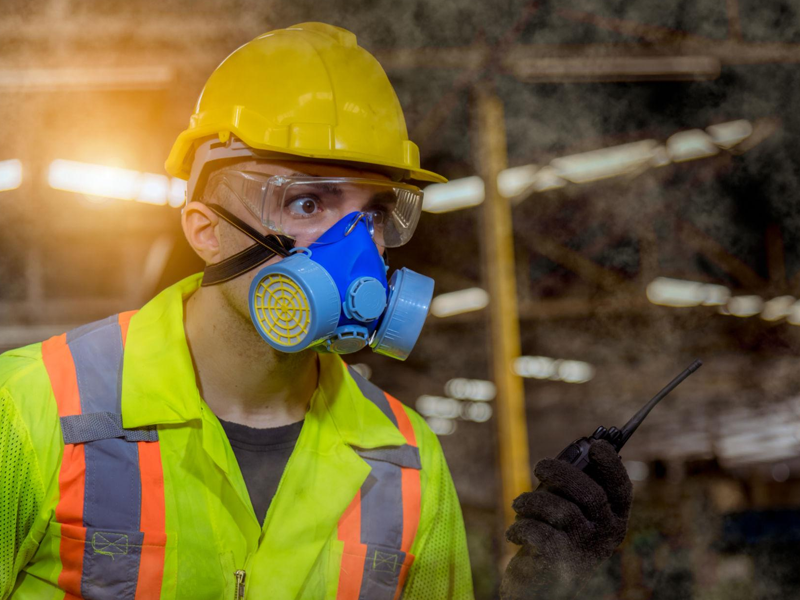
Why do you need an occupational hygienist?
Mould is not something to ignore or treat lightly. It’s a sign of underlying moisture problems and can impact both property integrity and human health. Proper mould testing and investigation provide the information needed to understand the full scope of the problem—from identifying the cause to determining the best remediation strategy. Working with an Occupational Hygienist ensures that testing is scientifically accurate, unbiased, and compliant with industry standards. With the right expertise, equipment, and approach, mould can be safely identified, removed, and prevented from returning.
If your property requires indoor air quality or mould assessment, contact our friendly team at IOHC.
Do you have Questions?
Disclaimer – The information in this blog is for informational purposes only and is not intended as medical/financial/legal advice. Always consult with a professional before making any decisions based on this information. No guarantees or warranties are expressed by IOHC about the accuracy of the information contained in the blogs.